
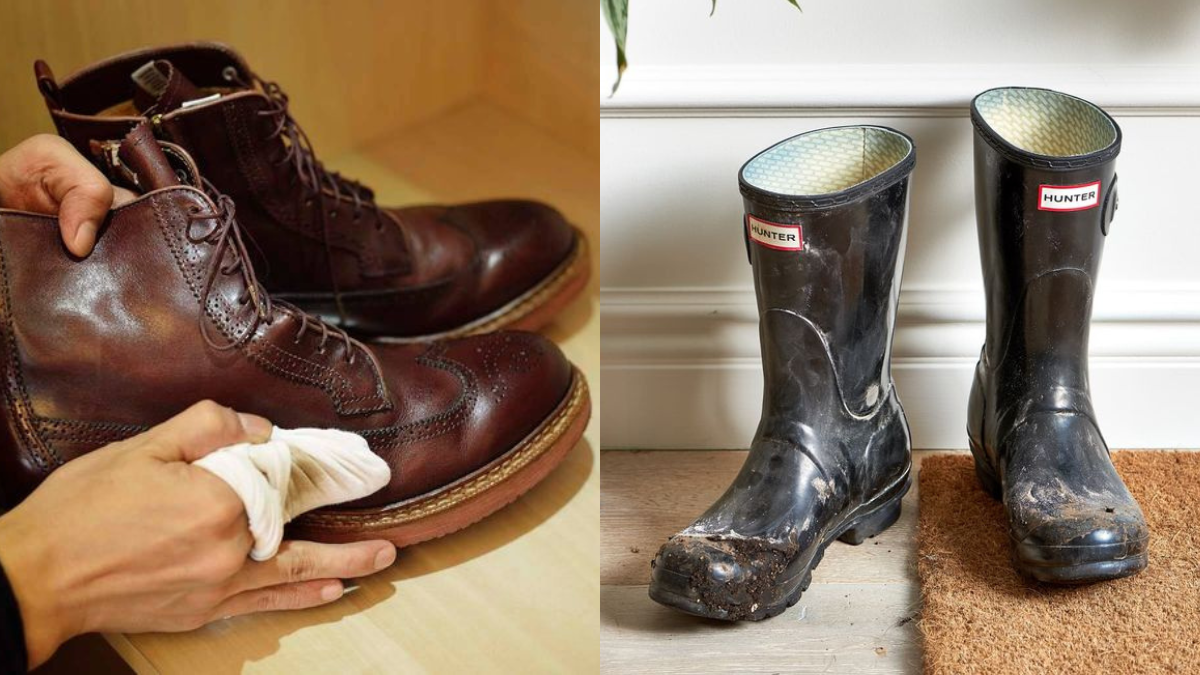
Winter is ending, and spring is on the way. It feels like we just pulled out our winter gear, and now it’s time to clean and store it for next season.
Taking proper care of your footwear ensures it lasts for years, and cleaning is a crucial step. Done right, it extends your boots’ lifespan—when done wrong, it can cause damage.
To keep your winter boots in top shape, here’s a simple guide to cleaning them the right way!
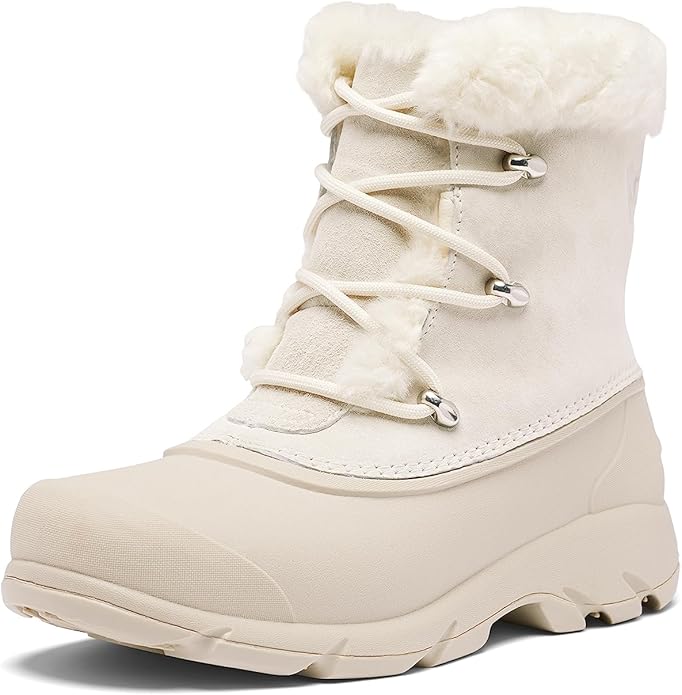
1. Use a Suede Brush or Eraser for Suede Boots
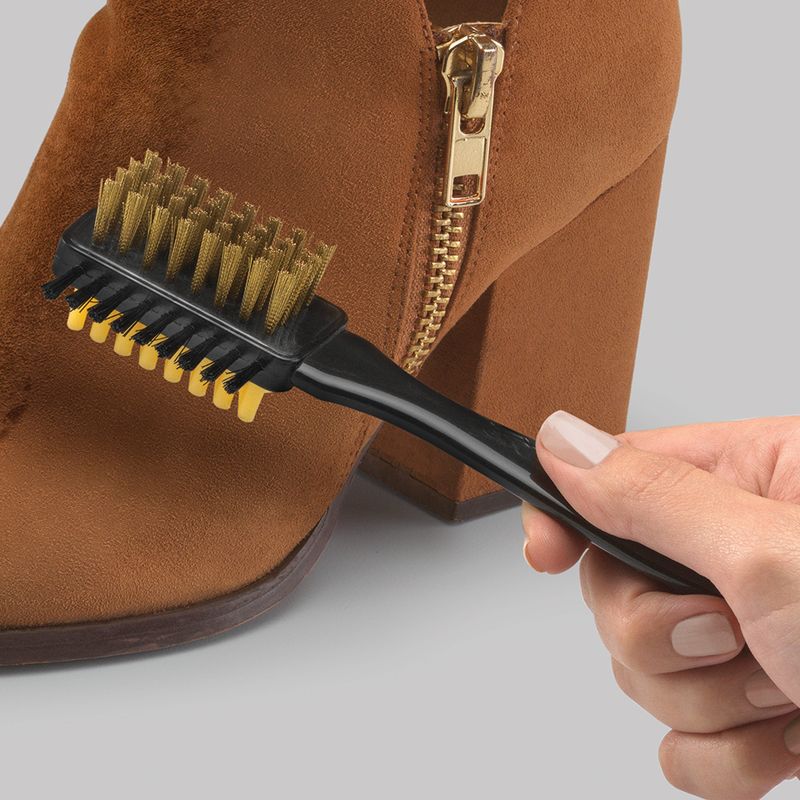
First things first, grab that suede brush. It’s a nifty little tool! Start brushing gently, in one direction to lift the nap. This brings those fibers back to life.
If stubborn stains persist, your pencil eraser is a secret hero. Gently rub the marks, watching them vanish. Who knew cleaning could be so satisfying?
Give your boots a final once-over with the brush, ensuring they look fresh and tidy. Enjoy the renewed elegance of your suede companions, ready to brave the winter streets again in style.
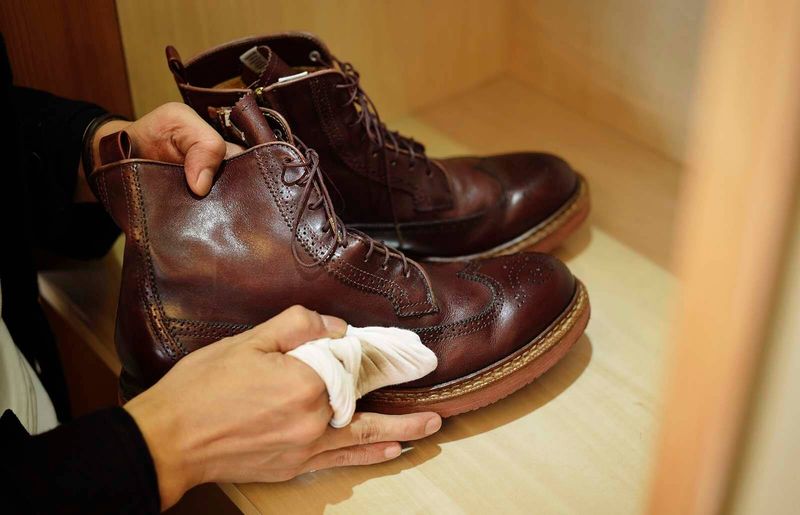
2. Apply Leather Conditioner
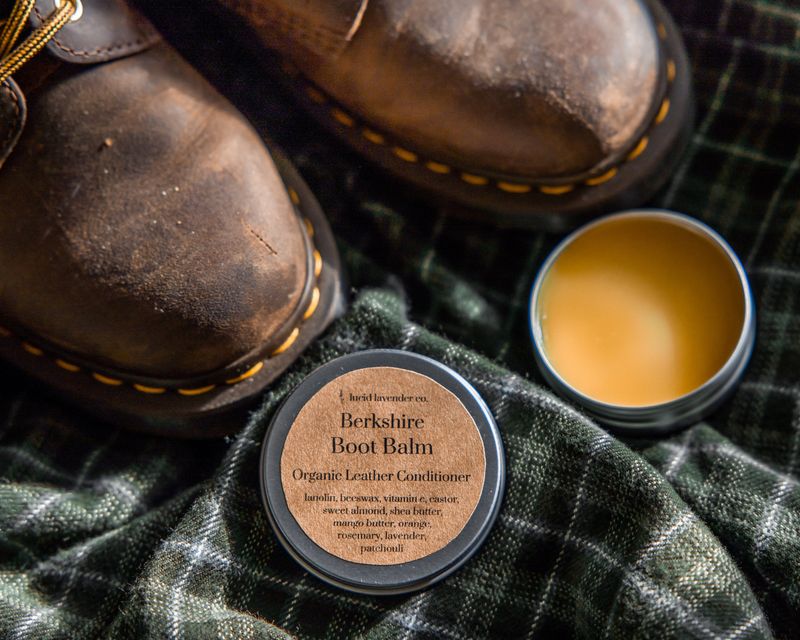
Ah, the magic of leather conditioner! Think of it as a spa day for your boots. Apply it generously, massaging it in circles. Let this rich treatment soak in.
Feel the transformation as the leather drinks it up, becoming supple and vibrant again. Don’t rush this pampering process! It’s your boots’ moment to shine, and they deserve it.
Admire the renewed luster and flexibility, as your boots look and feel like new once more.
3. Deodorize the Insoles
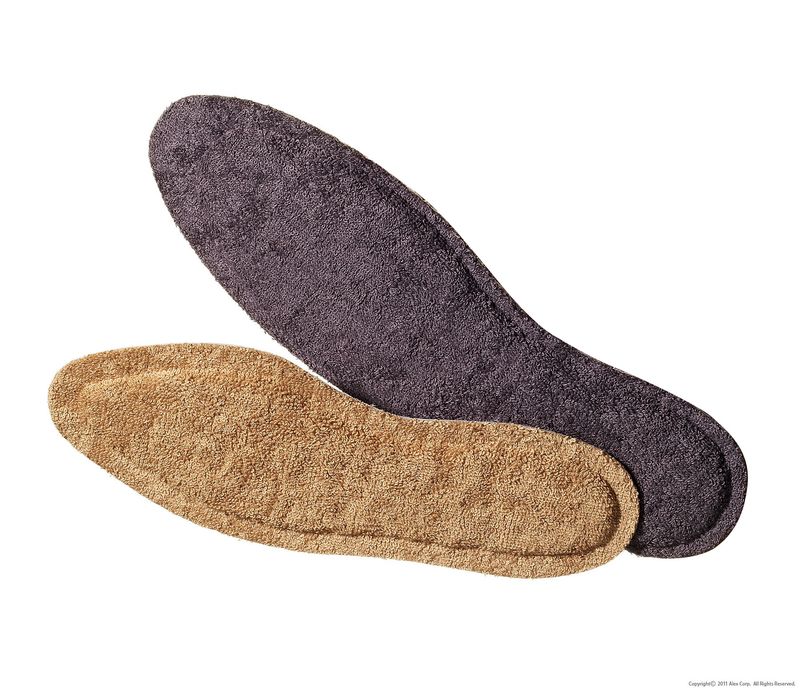
Insoles feeling a bit funky? Time for some odor banishment! Sprinkle a generous amount of baking soda inside those boots.
Let it sit overnight, absorbing any unwanted smells. Wake up to a fresh start as you shake out the bicarb with a smile.
For an extra zest, drop in a few essential oil drops. Imagine your boots smelling of lavender or peppermint! What a treat for your feet. Enjoy the newfound freshness with every step you take.
4. Waterproof Your Boots
Weatherproofing is a must! Grab a trusty waterproof spray. In a well-ventilated area, spray evenly over the entire surface.
Watch as the mystical barrier forms. Leave them to dry completely; patience is key. Now, your boots are ready to meet those puddles!
With newfound confidence, stride into the rain or snow, knowing moisture won’t be a match for your fortified footwear. Relish the dry toes and stylish exterior!
5. Use Rubbing Alcohol for Mold or Mildew
Mold or mildew doesn’t stand a chance! Grab a cloth and some rubbing alcohol. Dab the affected spots gently.
The alcohol evaporates, taking the musty invaders with it. Let the boots air dry in a sunny spot. Check back to see the transformation. Clean and fresh, they’re ready for action once again.
This trick is both surprisingly effective and delightfully simple. Your boots can breathe easy, free from pesky spores and odors.
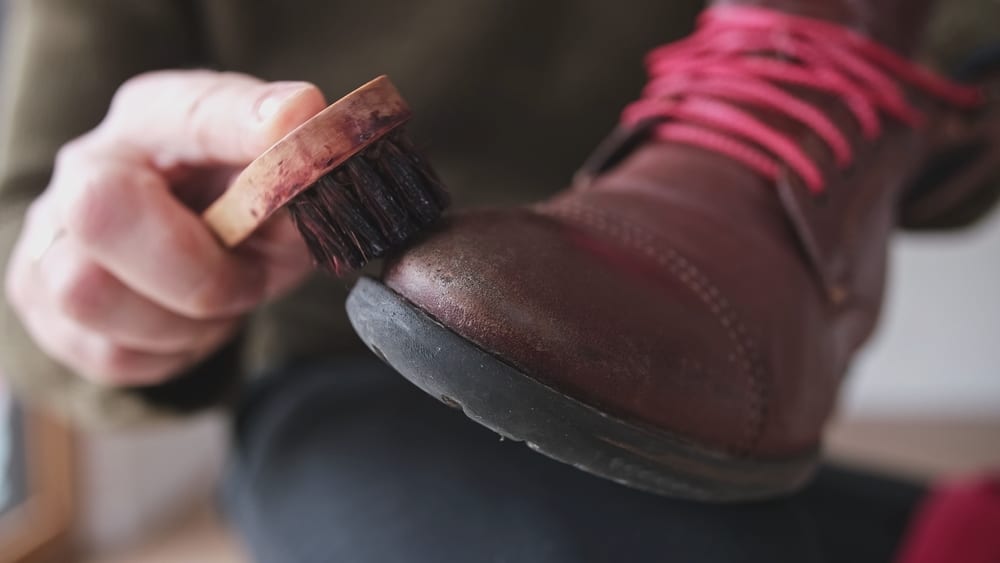
6. Buff and Polish Leather Boots
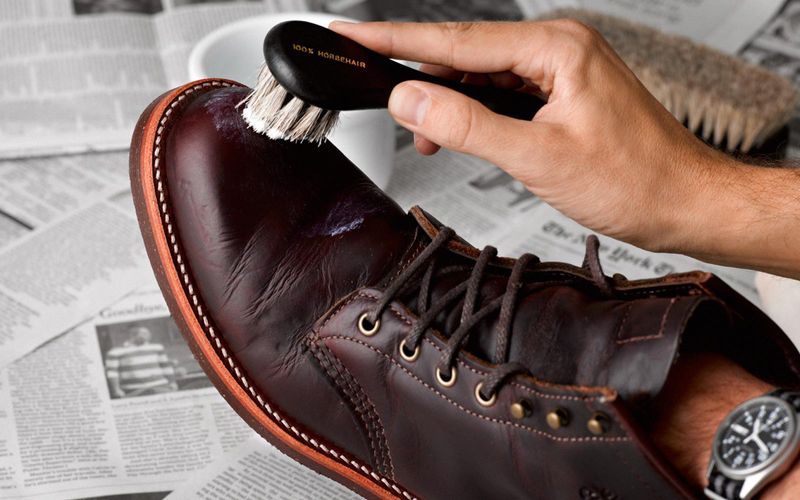
Buffing and polishing can work wonders. Start by applying a small amount of polish with a soft cloth. Rub it in with small, circular motions.
Watch the boots gleam with newfound brilliance. It’s like magic! Buff them afterward, bringing out a radiant shine. This step not only enhances the look but also adds a protective layer against scuffs.
Your boots are red-carpet ready, prepared to dazzle on any occasion. Get ready to turn heads!
7. Remove laces from your winter boots
Remove the laces from your winter boots. By doing so, you’ll stretch out your boots and enable yourself to properly clean the tongue area and reach all the usually unreachable places.
You’ll also be able to properly clean the laces, too. What’s good about this is that you don’t have to bother washing them by hand. You can simply put them in a mesh laundry bag and wash them with the rest of your laundry. Easy peasy!
8. Remove their inner liners

Similarly to removing laces, another good thing to do is to remove the inner lining from your boots, too.
By taking out all the inner padding, you’ll be able to wash that separately. You’ll also have better access to the inside of your boots to clean them properly and treat bad odors inside. Also, the inner lining will be able to completely dry much faster when it is taken out of the boots.
9. Get rid of any dirt by brushing and vacuuming your boots
Before you get your boots wet, you should make sure there is no dried dirt glued to their outsides and no loose dirt on their insides.
So, with your brush of choice, remove the dried dirt on your boots’ upper and outsoles. If necessary, use a crevice tool vacuum attachment to vacuum all the nooks and crannies inside your shoes.
By doing so, you’ll prevent the water you’re going to use later from becoming too muddy, and you’ll ensure the whole process of cleaning goes a lot smoother.
10. Soak your winter boots in warm water mixed with a dash of detergent
The next step to take is to prepare a bucket of warm water a put a few drops of detergent. Stir the water and detergent mixture until it becomes bubbly and then put your winter boots inside.
Soak your boots for around 30 minutes or more, depending on how much time you have on your hands. During this period, any dried dirt that remained in hidden crevices will melt down, and it’ll be easier for you to scrub your boots properly.
After this, use your brush and an additional drop of detergent and scrub the outsides of your boots. And when it comes to the insides, you can scrub them either with detergent or with baking soda.
When you’re done with scrubbing, please make sure you rinse your winter boots properly with clean water so no detergent or baking soda residue remains on your boots. Pay extra attention to the insides of your boots as it can get pretty tricky to rinse them all the way.
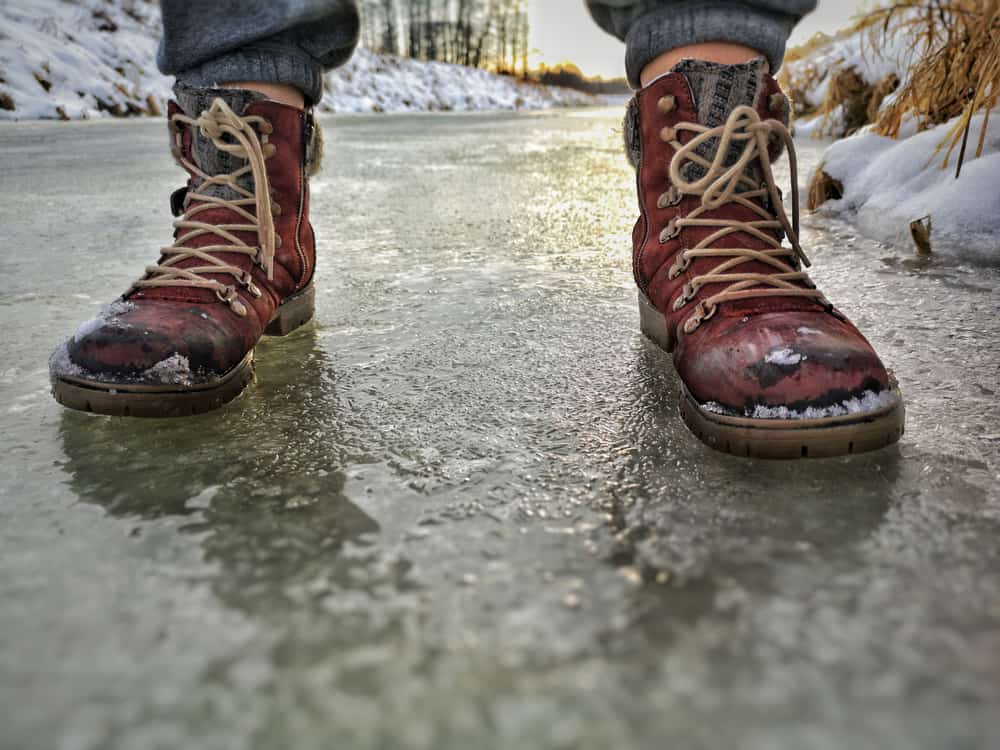
11. If there are salt stains on your boots, remove them with white vinegar
In places where there is a lot of snow, sleet, and frozen rain in winter and where the temperature of the ground is 32 degrees or colder, people tend to sprinkle salt on the roads. This is done because salt is known to lower the freezing point of water, preventing ice from forming.
This is pretty useful, indeed. However, it can leave some nasty stains on your winter boots which require a little bit more attention.
If you do notice your winter boots have salt stains on them, what you can do is take a clean cloth and dampen it in white vinegar diluted with water. You’ll do this after your boots have been soaking in the warm water and detergent, and after you have thoroughly brushed and rinsed them off.
Wait until they are not dripping wet, but not entirely dry, take that cloth damped in water and vinegar and slowly brush it over your boots. The vinegar will break off the salt completely and lift the stains that have been soaked in the pores of your boots.
Another thing you can consider doing is soaking your boots overnight in a mixture of vinegar and water.
This will be as effective as the damp cloth method, if not more since the vinegar will successfully get into the insides of your boots, treating the possible salt residue on the inside and killing any bacteria potentially growing there.
Inevitably, after both of these methods your boots will smell like vinegar. But don’t panic! This unpleasant smell usually goes away once your boots are completely dried.
12. Let them air dry
After you have done everything, and you are satisfied with the results, the last thing you have to do is to leave your boots to dry.
The best method is to leave them in a well-ventilated place to air dry. You can, of course, pat them dry with towels or use newspapers which are allegedly great at absorbing moisture.
However, remember to never put your boots in the dryer. The heat from the dryer can severely damage your boots and cause the material to either break, shrink, or become prematurely worn off. Also, don’t put your boots in the oven. Be patient with the drying process and let them dry on their own.
13. Store your boots the right way
This is not exactly a cleaning tip, but it can significantly help you next year and save you a lot of trouble.
If you’re thoroughly cleaning your boots because it’s the end of the winter season, and you want them to be as good as new the next time you take them out, you should know that cleaning is not the only thing you should be doing.
Trust me, it won’t do much if you do an amazing job at cleaning your boots, only to shove them in your musty attic or basement. You have to store your boots properly, somewhere dry and where they’ll have their own space, either on a shelf or in the box they came in.
14. Stuff Boots with Newspaper While Drying
Wet boots? No problem. Grab old newspapers and stuff them inside. They absorb moisture like a sponge. Leave them by the fireplace or heater, letting warmth speed up the process.
The paper shapes the boots, preventing unsightly creases. A simple yet effective trick! Enjoy the satisfaction of dry, well-formed boots, ready for the next snowy adventure.
Embrace this age-old method with a modern twist, ensuring your boots stay in top condition.