The boots you use at work don’t really have a lifespan. How long they last will depend on the quality of the boot, as well as the type of work you do. On average, however, they usually last around 4 years if you wear them every day. So, how much does it cost to resole boots that are worn out?
Since the soles of your boots get used the most, with constant pressure on them, they usually deteriorate faster than the rest of the shoe. But don’t worry, if your sole seems worn out, or it’s separated from the boot, you don’t have to buy a whole new pair because of it.
You can easily resole it and keep the rest of your shoe that’s still perfectly safe and comfortable to use. If you usually like to treat yourself to an expensive pair, fixing them this way can save you some money.
We’re sure you have a lot of questions about this, though, and we’re here to help. How much does it cost to resole boots, and how you can do it at home? Let’s break it down together!
What does it mean to resole your boots?

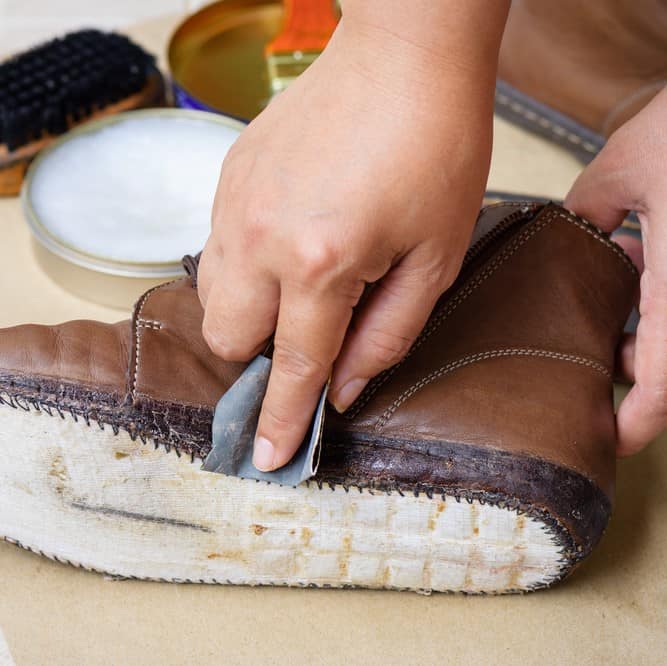
So, what does getting your boots resoled even mean? Well, it’s pretty simple. When the outsole of your boot gets worn out, you get it removed. In case the original outsole still looks good, it’s usually stitched to the midsole.
However, if your outsole is no longer usable, the boot cobbler will replace it with a brand-new one. The answer to “How much does it cost to resole boots?” depends on the type of sole used and how much work there needs to be done.
Don’t ignore the signs that your boots need resoling. A good outsole is a crucial part of safety footwear, and it can protect you from a lot of accidents that can happen in your workplace.
When should you get your boots resoled?
Okay, you realize how important it is to have functional soles, but when is the right time to get them changed? It’s pretty simple, and there are some things you should look out for that will tell you when it’s time.
Look if the thread on your outsole is worn out. That should be one of the first signs that it’s time to change it. It holds the grip of your work boots, which is really important if you spend a lot of time on your feet.
If the thread is damaged, it might no longer provide you with traction. That could be especially dangerous if you work on slippy terrains. If that’s the case, make sure to get it resoled as soon as possible.
A pretty obvious sign is a hole in the outsole of your safety boots. If you don’t fix it on time, it could cause more damage to your boots that would be harder to manage. If you’re working somewhere where you’re exposed to a lot of water, you’d end up with fairly wet feet.
Not only would that be extremely uncomfortable, but it could also damage the inside of your boot. In that case, it would be a lot easier to simply buy a new pair.
If you’ve been using your working boots for quite some time now, it’s normal that the outsole begins to fall apart. The detachment of the outsole or the midsole is a clear sign that you need to get them fixed.
These are just some of the main indicators that your boots need resoling. Of course, if you ever get the need to resole them without any clear signs to do it, it’s better to be safe than sorry.
How much does it cost to resole boots?

Now, how much does it cost to resole boots? Well, that depends on many factors, including degradation, location, the cobbler, and the brand of your boots. Roughly, it could be anything from $80 to $150.
Which can still be a lot more affordable than a new pair of high-quality safety footwear. Even if it’s not, it’s still worth it considering the comfort they bring. That is compared to a new pair that you still have to break in. Plus, you probably can’t say goodbye to the boots that have carried you for so long…
The good news is, you probably don’t need the entire replacement, so it might cost you even less. If the damage is not too bad, you can save a lot of money. For example, a simple heel replacement could cost as little as $50, while stitching repair is usually no more than $25.
The only downside is that it might take a bit more time than simply buying a new pair. If you don’t have a shop nearby, finding and driving to a cobbler might take longer. If you decide to send it by mail, you still have to wait for the whole procedure which might take up to three weeks.
If you’re one of the lucky ones who have a local cobbler who’s good at what they do, then resoling your boots could be a perfect solution to your problem.
Pros and cons of getting your boots resoled
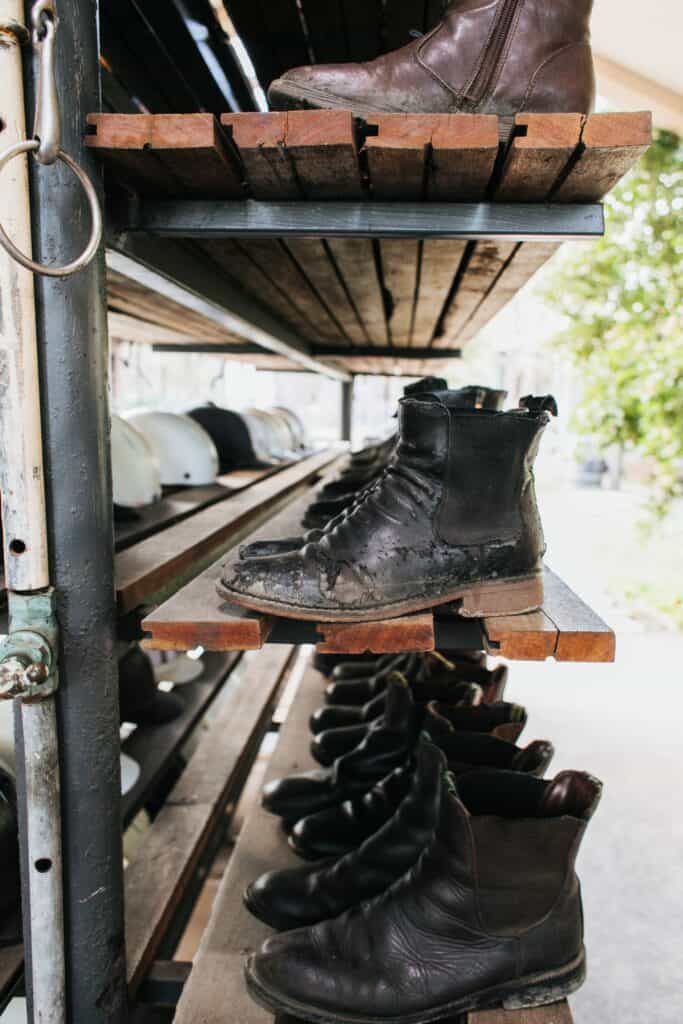
You might no longer have to wonder “How much does it cost to resole boots?”, but now you’re questioning whether it’s worth it. You’ve noticed your boots are no longer what they used to be, but a simple resoling might help them last you for at least another year.
You still have to think whether or not the cost to get them fixed is worth it. If your boots are under $150, you might want to reconsider getting this done. They’ve probably reached their limit and it’s time to lay them to rest.
However, if you’ve treated yourself with high-quality, $300 handcrafted boots, we see how this could be a perfect solution for you. Let’s go over some of the biggest pros and cons of resoling boots, so you can make your final decision.
Pros of resoling your boots
The biggest benefit of resoling your boots is the fact that you don’t have to go and get a new pair. Not only will it save you a lot of nerves, but paying a lot of money for high-quality safety footwear doesn’t mean you’ll love them. In fact, most of the safety boots you first put on will be far from comfortable.
It might take you up to a month to break your new shoes in, while simply changing their soles means you get your much-loved pair that’s already adapted to your feet. On top of that, resoling your boots will probably save you a lot of money, especially if you’re a fan of more expensive ones.
Not only are you doing your wallet a favor, but you’re also doing a good thing for the environment. Recycling reduces the excess that usually ends up in landfills.
Resoling your boots instead of throwing away your old ones at every little sign of damage is highly sustainable. Especially if the damage is easily fixed and the rest of your boot is in perfect condition.
Cons of resoling your boots

The first drawback of resoling your boots is the time it might take to get it done. It’s possible that this can take up to three weeks, which is a lot longer than simply going to the store and purchasing a new pair, even if you’re picky.
If you don’t own another pair that you can wear to work while your other ones are getting resoled, you might want to consider buying a brand-new pair.
For inexpensive boots, resoling isn’t worth it, as it’s not exactly cost-efficient. Since it can cost up to $150, you might as well treat yourself to a pair of high-quality boots that will last you for a long time. Buying budget-friendly boots could even save you some money!
And, lastly, let’s talk about comfort. Although resoling your boots means you get to keep your old ones that are already conformed to your feet, they might not be as comfortable as they were before.
Putting on new soles might take away some comfort and durability from your boots. This depends on many factors, including materials used, your cobbler’s craftsmanship, and how are you going to use them.
A replaced pair of soles can last you anywhere from one to five years. Before the leather becomes over-used and punctured, most boots can handle around four resoles.
How can you resole your boots at home?
You’ll no longer have to wonder, “How much does it cost to resole your boots?” or whether it’s even worth, it if you try doing it yourself at home. And, who knows, it might become your new hobby, too! Here’s how you can do it.
1. Get all the supplies you need
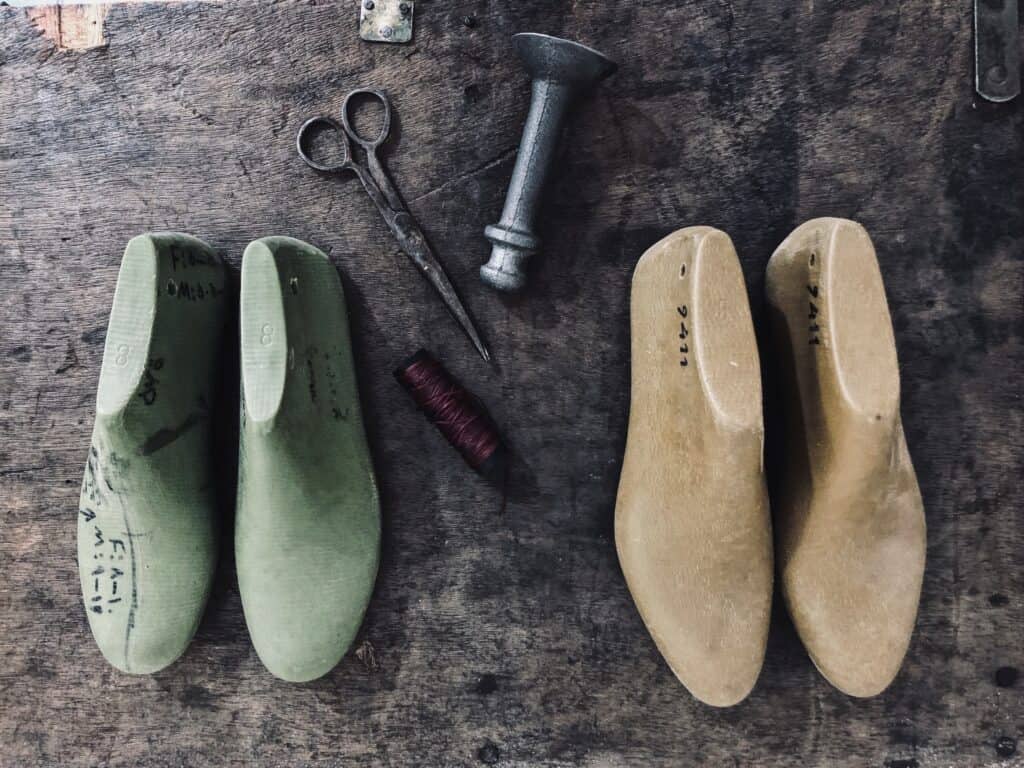
If this is your first time resoling your boots, you might have to get some new supplies. Although you might have most of them at home, let’s go through the list together to see if you’ll have to go to the craft store first.
- Hammer
- Knife or a utility blade
- Stitches
- Punch
- Safety gloves
- Medium grain sandpaper
- Nails in various sizes
- Glue
- Contact cement
2. Remove the old outsole
Once you’ve gathered all the necessary tools, you’re ready for action. The first thing you should do is remove the old sole with a sharp blade. If you’re working with a tougher material, you can use sturdy pincers or pliers.
Once you take them off, look at both sides of your boots. There should be three layers – the outer, the midsole, and the inner outsole. If you want to start fresh with your new soles, remove all layers.
The easiest way to do this is by using smaller nails to create holes. Applying pressure and twisting until you can pry them out with a screwdriver should do the trick.
3. Trim the midsole and the outsole
Once the old sole is removed, you’ll notice it’s worn out in some places. You’ll need to trim down these parts to attach the new outsole. Using a knife or a blade is the easiest way to mark and measure how much material you need to remove.
Once it’s ready for the new sole, you’re ready to attach it. The fastest way to do this is by using a shoe stretcher, but you can also use a hammer and punch. Make sure that each side of the tread pattern meets at the top of your boot, as it’s what holds them together.
After that, simply follow the instructions on your contact cement, and use it to apply a layer on both surfaces. Place them together, put some weight on the boot, and you’re good to go!
5. Finish your new soles
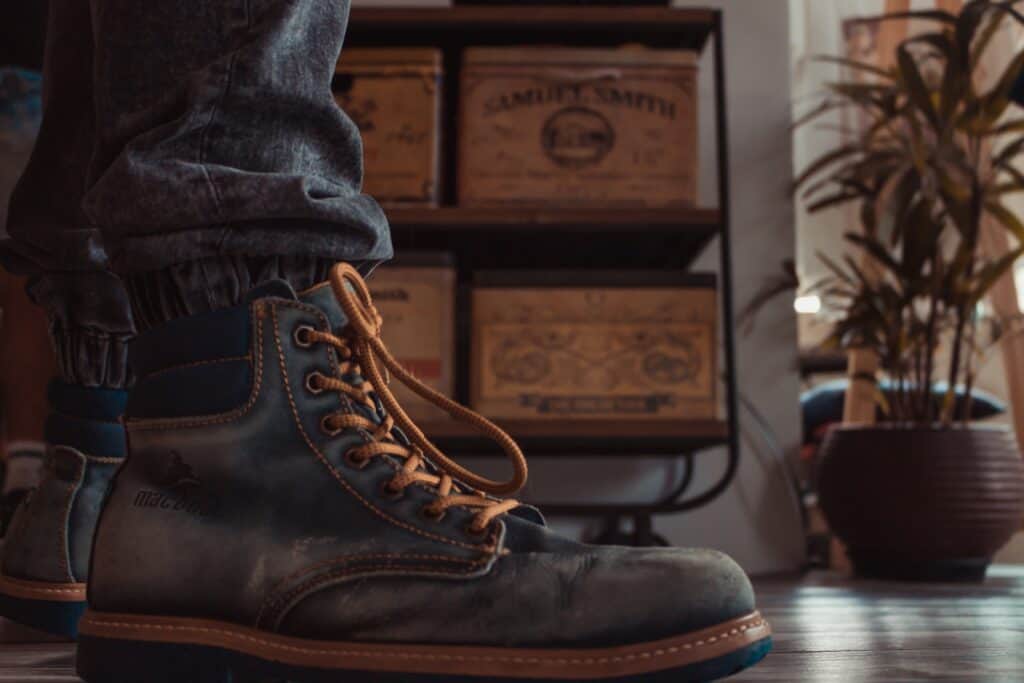
After they’ve dried and can now hold their shape, start stitching them down. Use a sturdy thread, and tie a knot at one end, then the other one once you’re finished. Pull the thread up from one hole on the midsole, and through the opposite hole on the outsole.
Once you’ve finished going around the whole boot, use super glue to cover the holes, and let it dry for about an hour.
Find out more about shoe soles: 10 Main Shoe Sole Types And Everything About Them
