A flawless foundation application is the cornerstone of any great makeup look, creating the perfect base for everything else. It enhances your natural features, evens out skin tone, and leaves a polished, radiant finish. However, achieving that smooth, seamless application often depends on mastering the right techniques and using the right tools for your skin type and foundation formula.
Expert-approved techniques can make all the difference, not just in how your foundation looks but also in how long it lasts throughout the day. From selecting the ideal formula for your skin type to using tools like brushes, sponges, or even your fingers, these methods ensure a professional-level finish. They can help prevent common issues like patchiness, streaks, or an overly heavy appearance.
Whether you’re preparing for a special event or refining your everyday makeup routine, knowing how to apply foundation effectively can elevate your entire look. With the right guidance and a few simple tweaks, your foundation routine can become an effortless and enjoyable part of your beauty regimen. The result? A flawless, glowing complexion that boosts your confidence and enhances your overall style.
1. Choosing the Right Formula
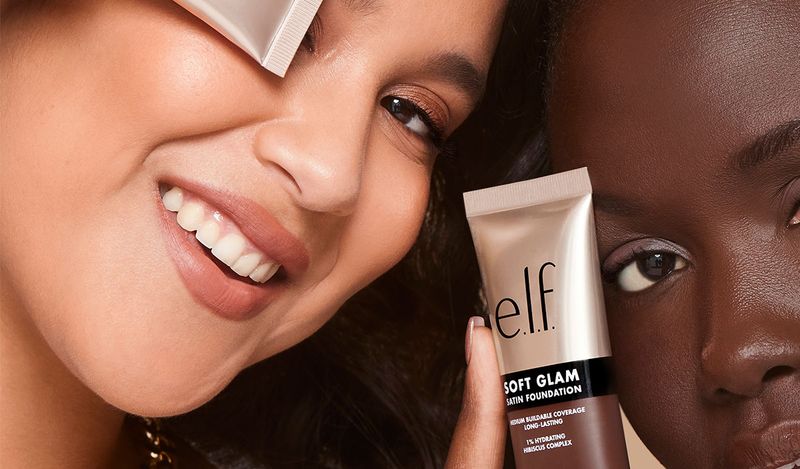
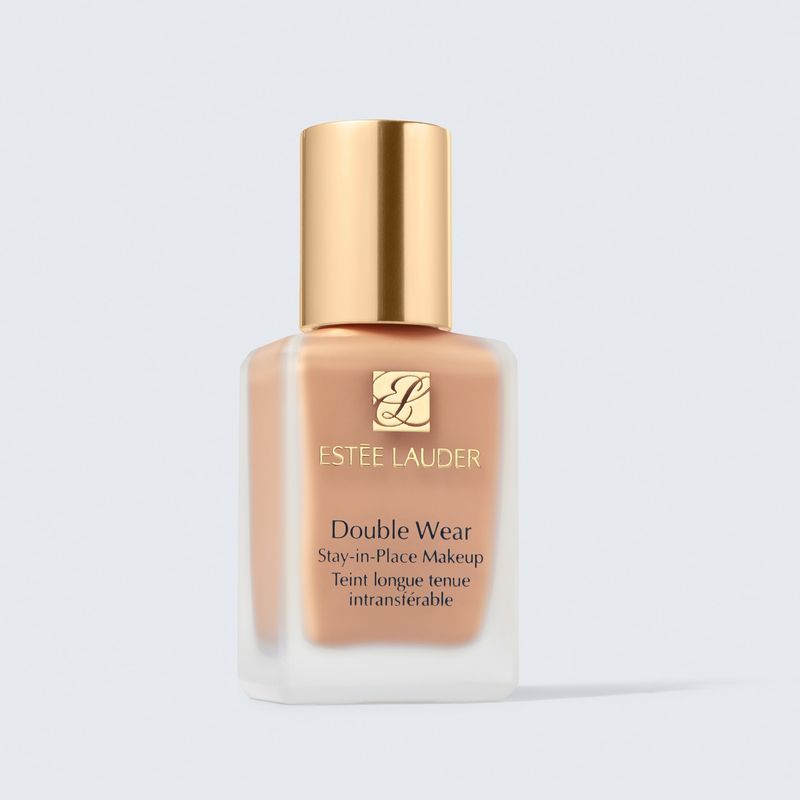
Selecting the right foundation formula is crucial for achieving a flawless finish. Whether you have oily, dry, or combination skin, there is a formula designed to meet your needs.
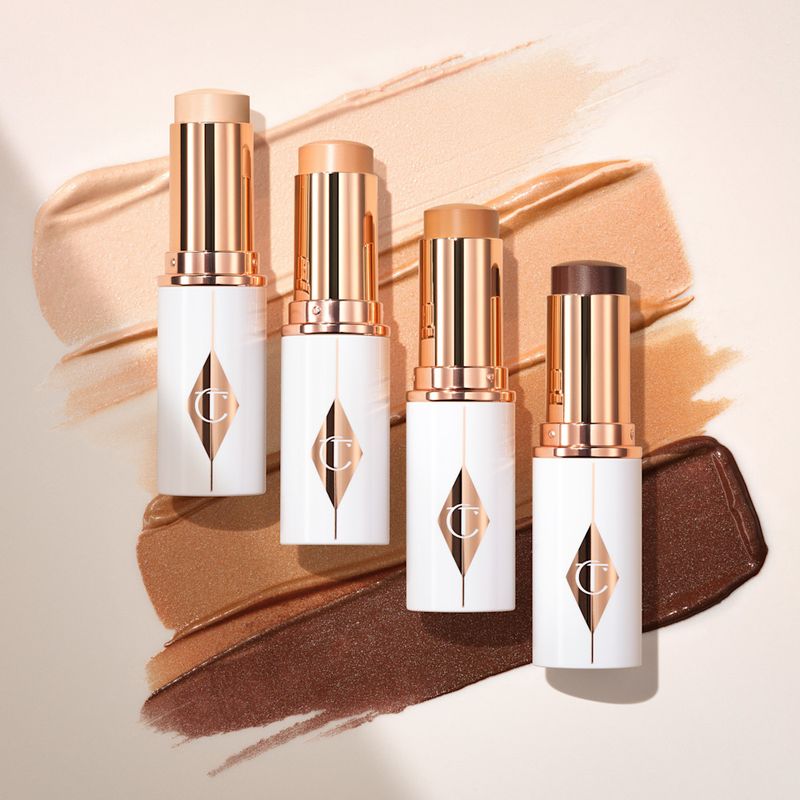
With options ranging from liquid to powder, it’s advisable to experiment with samples to find your perfect match. Liquid foundations often provide a dewy finish, while powders offer a matte appearance.
Take the time to assess how each formula reacts with your skin throughout the day. This experimentation will lead you to a foundation that complements your skin type and personal preferences.
2. Prepping Your Skin
A well-prepped skin is the foundation for an impeccable foundation application. Start by cleansing your face to remove any impurities, followed by using a gentle exfoliator to slough off dead skin cells.
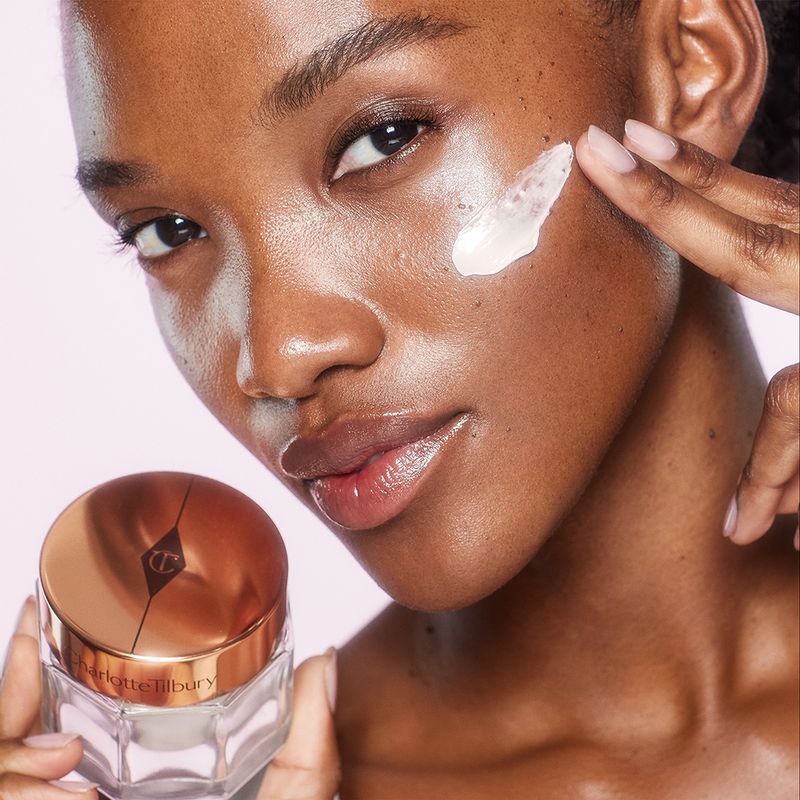
This ensures a smooth canvas for the foundation. Next, hydrate your skin using a moisturizer suited for your skin type. Once absorbed, apply a primer to create a barrier between the skin and makeup, enhancing the foundation’s longevity.
Primer also helps fill in fine lines and pores, providing a more even surface for makeup application.
3. Correcting Imperfections
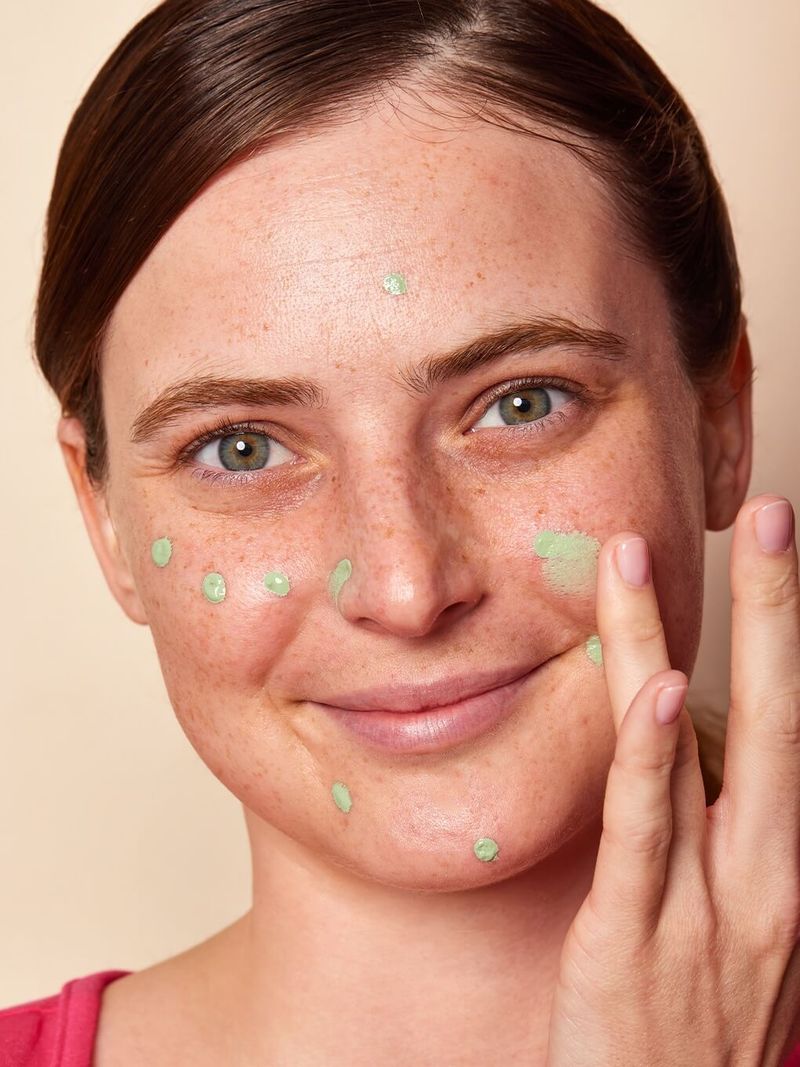
Correcting imperfections before applying foundation can significantly improve the final look. Use color correctors to neutralize any discoloration on your face. Green correctors are perfect for neutralizing redness, while peach or orange can counteract dark circles.
After correcting, lightly blend the product with your fingers or a brush, ensuring it’s well-seated into the skin. This step creates an even base, allowing your foundation to glide on smoothly.
By addressing these imperfections first, you reduce the amount of foundation needed, preventing a cakey finish.
4. Choosing the Right Tools
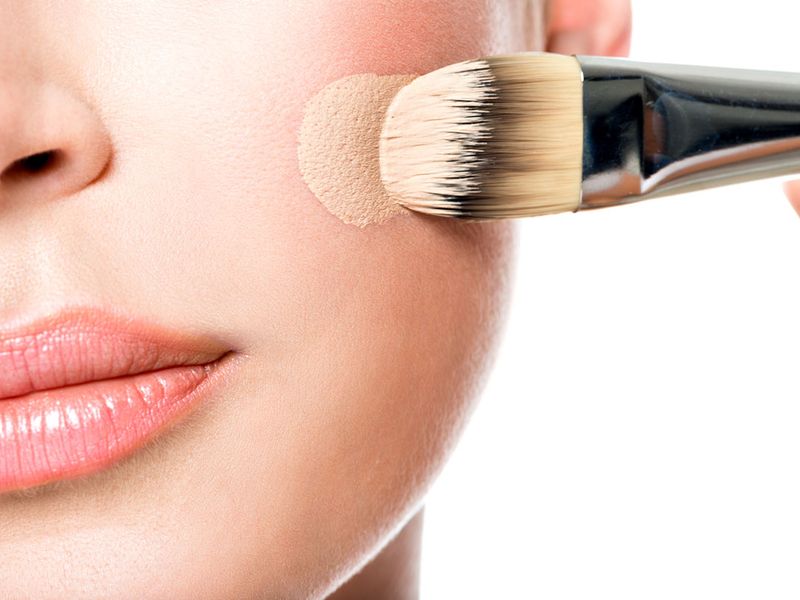
The tools you use can dramatically affect the application and finish of your foundation. Brushes can provide a polished look, while sponges offer a natural, airbrushed effect.
Using fingers warms the product, allowing for a more seamless blend. Consider your foundation formula when choosing your tool; liquid foundations often pair well with sponges, while powders may benefit from a good quality brush.
Experiment with different tools to discover what suits you best. The right tool not only complements the formula but also enhances the product’s performance.
5. Finding Your Perfect Shade
Finding the correct foundation shade can be daunting, but it’s vital for a natural look. Test shades on your jawline or wrist rather than the back of your hand for a true match. Observe the hue under natural lighting to ensure accuracy.
Brands offer a wide range of shades; don’t hesitate to seek assistance from beauty consultants if needed. Remember, your skin tone can change with seasons, so reassess your shade throughout the year.
A perfect match disappears into your skin, enhancing your natural beauty without noticeable lines.
6. Layering for Coverage
Layering your foundation can help achieve the desired coverage without caking. Start with a thin layer, blending it evenly across your face.
For areas needing more coverage, such as blemishes or redness, apply additional layers sparingly. Use a light hand to build coverage gradually. This technique ensures even application while maintaining a natural finish.
Avoid overloading the skin by letting each layer set before applying the next. By mastering layering, you can control the opacity of your foundation, achieving a flawless look that’s both natural and polished.
7. Setting the Foundation
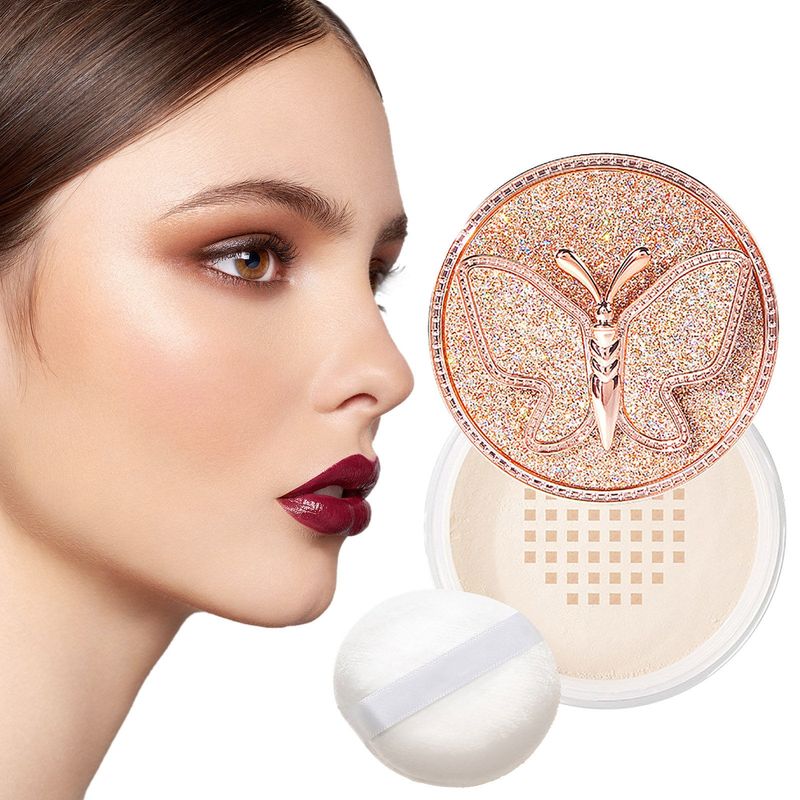
Setting your foundation is essential for longevity and a shine-free finish. After applying foundation, use a translucent setting powder to lock the product in place.
Lightly dust the powder over your face using a fluffy brush, focusing on areas prone to oiliness like the T-zone. This step prevents the foundation from moving and helps control shine throughout the day.
If you prefer a dewy look, opt for a setting spray instead of powder. Both methods are effective but cater to different finish preferences, ensuring your foundation remains intact for hours.
8. Blending with Precision
Precision in blending is key to a seamless foundation application. Use small, circular motions with your tool of choice to blend the foundation into the skin.
This technique avoids streaks and lines, creating a natural finish. Pay special attention to the jawline and hairline to prevent noticeable demarcations.
Blending should be gentle yet thorough, ensuring every area is covered uniformly. A well-blended foundation enhances your natural skin texture rather than masking it. Mastering this step results in a flawless complexion that looks effortless and beautifully polished.
9. Highlighting the Right Areas
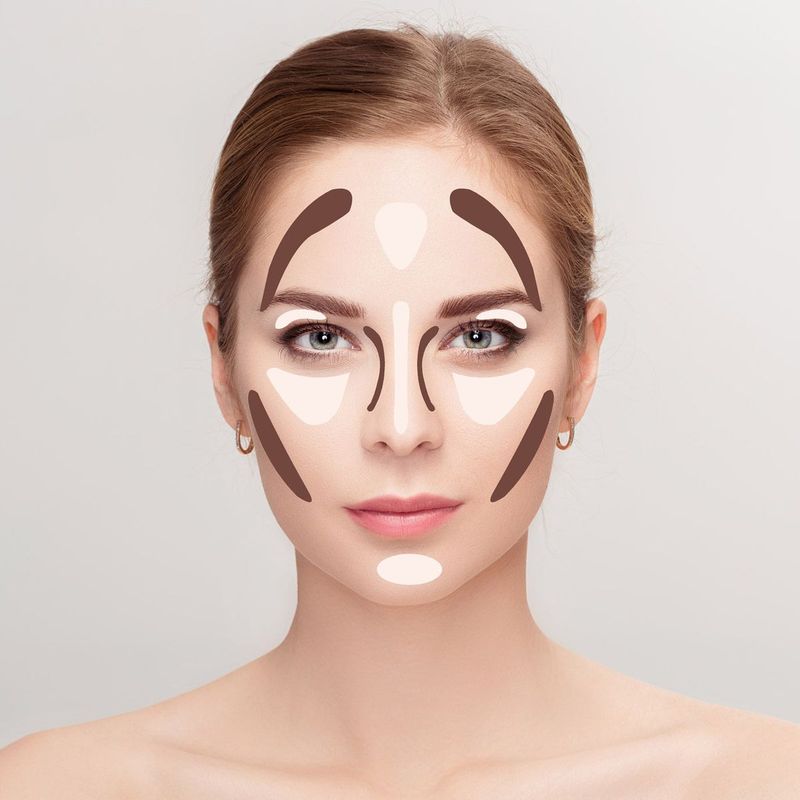
Highlighting strategically can enhance your foundation application and add dimension to your face. After setting your foundation, apply a highlighter to areas like the cheekbones, bridge of the nose, and cupid’s bow.
Use a light hand to avoid overpowering the foundation. The glow from the highlighter complements your skin tone and reflects light beautifully.
This technique creates a healthy, radiant look that highlights your natural features. By focusing on key points, you draw attention to these areas, giving your complexion a lifted and luminous appearance.
10. Ensuring Long-Lasting Wear
To ensure your foundation lasts all day, incorporate touch-ups into your routine. Carry a compact or setting powder for quick fixes when needed. Blotting papers can also help absorb excess oil without disturbing the foundation.
Long-lasting formulas combined with regular touch-ups keep your foundation looking fresh and vibrant. Ensure your skin is well-prepped initially, as this provides a solid base for the product.
Regular touch-ups not only maintain the foundation’s appearance but also give you confidence in your look, no matter the occasion.

