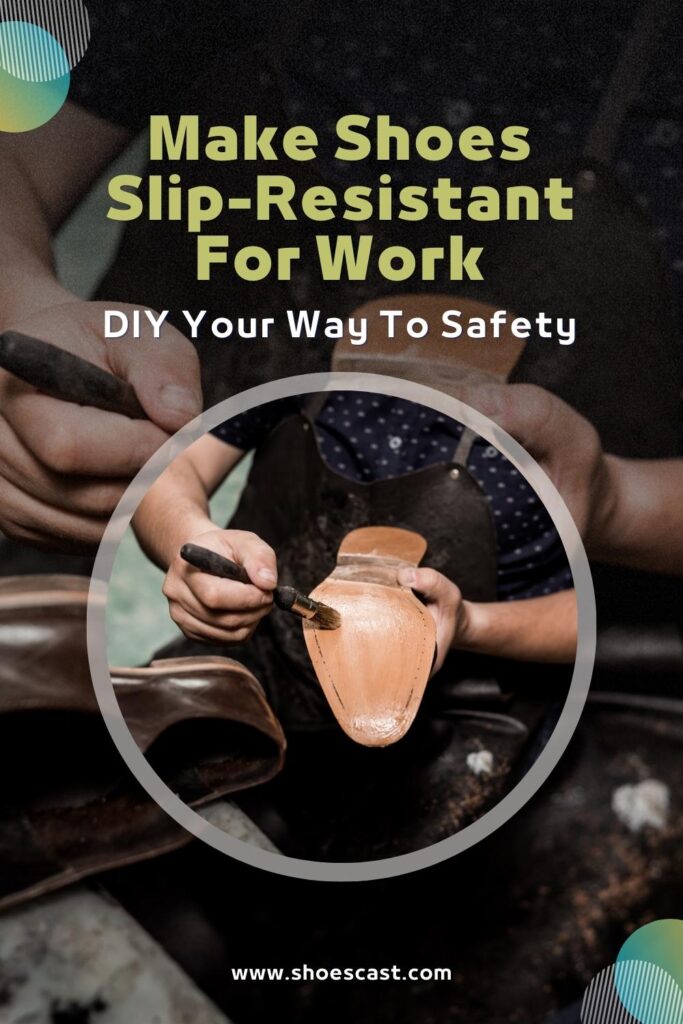
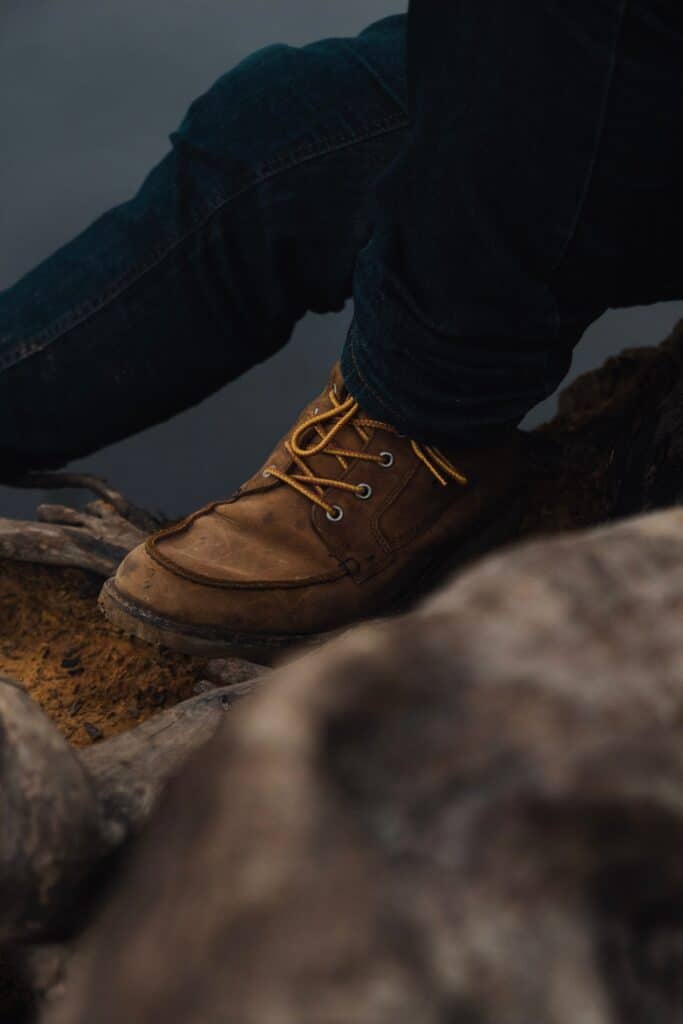
Being safe at your job should be your top priority, which is why it’s important to know how to make shoes slip-resistant for work. Not only will it give you peace of mind knowing not every puddle is there to make your life a living hell, but it can also save you from serious injuries.
Unfortunately, most of us are wearing slippery footwear almost every day, not knowing the risks they bring to our well-being. Besides, aren’t a pair of slippery shoes one of the most annoying things one has to deal with?!
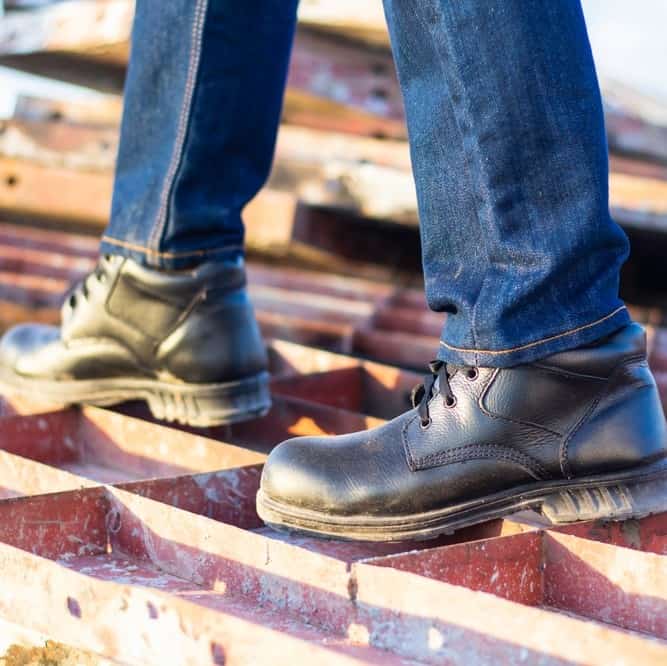
Although slip-resistant shoes used to be a requirement for restaurant workers and cleaners only, it’s a different story today. Veterinarians, medical personnel, technicians, and everyone else who’s exposed to slippery surfaces at work are required to wear slip-resistant shoes by law.
We know, you spend so much time at work and you like to look as good as possible while being there. However, wearing non-slip shoes doesn’t mean you have to ruin your whole outfit and style for the sake of being safe.
What if we told you that there are different ways you can make shoes slip-resistant for work, including your favorite pairs? You can look cute AND safe! Sounds perfect to us.
Together, we’ll learn what makes shoes slip-resistant in the first place, but also how you can make your own pair non-slip without having to spend money on a brand new one. Let’s jump right in!
Why do you need slip-resistant shoes?

Before we learn how to make shoes slip-resistant for work, why is it even important to wear them? Isn’t it enough to just be careful? Well, we wouldn’t test that…
No matter how careful you are, accidents happen. When they involve slick shoes and slippery surfaces, those accidents can lead to some serious injuries. On top of that, simply being careful means you’d spend most of the time being focused on your walk, which can distract you from work.
So, when shoes provide more traction, you’re likely to avoid accidents, no matter where you work. For example, you wouldn’t guess that truck drivers need non-slip footwear, but they do! They often walk on slippery surfaces such as oil, which can easily cause them to fall.
With slip-resistant shoes, that risk reduces drastically. If you work outside, don’t even get us started on the weather! Being exposed to different elements means you should be prepared for anything, including rain and snow that can cause you to slip and fall.
With the right pair of shoes, you won’t let the weather surprise you and affect you in any way. On top of that, if you’re a technician, there is a high chance of injuries caused by electrocution. A pair of slip-resistant boots are usually made with rubber soles, which prevent this type of injury, too.
How to make shoes slip-resistant for work?

The good news is – you don’t have to buy a new pair of shoes just for your job. With a few tricks and some fun DIY projects, you can easily make shoes slip-resistant for work yourself. There are plenty of options you can choose from that will help you deal with slick shoes, and here are our favorite ones.
1. Give scuffing a chance
The first thing you should do when trying to make shoes slip-resistant for work is scuffing. It’s the old-school way of dealing with this issue that won’t take too much of your time, so it’s definitely worth a try.
Brand-new shoes with smooth outsoles are usually the ones that are most prone to sliding on wet and slippery surfaces. So, do you simply wait for them to be worn out enough not to slip, or do you try and speed up the process? We’d opt for the latter.
Also, the whole process is pretty simple, too. Just put on your pair and walk on a hard surface. Whether it’s a rocky road or concrete, it doesn’t matter – as long as it scuffs the soles of your shoes.
Don’t push yourself to walk for miles and miles on hard surfaces. Simply rub your soles on some concrete for a few minutes, and don’t go soft on them. However, make sure you don’t remove too much material from them, as that could affect their stability and strength.
Scuffing will create texture and patterns that will improve the traction of your shoes. In no time, your soles will be ready to face most of the slippery surfaces that get in their way.
2. Use sandpaper for additional traction
If you’d like to make shoes slip-resistant for work and do it in the comfort of your home – we’ve got a solution for you. Using sandpaper is a great way to make your shoes non-slip, similar to scuffing.
Sanding the soles of your shoes is a great way to give your shoes an additional grip. It works by creating texture and nooks that make your shoes less slippery. We recommend using 50-grit sandpaper to make things faster, but any kind will work just fine.
Start off by taking your shoes and gripping them tightly, because sanding might cause them to fall out of your hand. Next, use any kind of sandpaper you have, and start scraping the soles. That way, you’ll roughen them, and you’ll start noticing that their texture is beginning to change.
Although it might seem like a logical thing to do, don’t press the sandpaper too hard when you scrub, because you might risk removing too much material from the sole. To get the best out of this little experiment, spend the most time rubbing the parts that touch the pavement.
There isn’t a specific time you should be doing this for. Simply keep scraping until your soles obtain a rougher texture than before. With this, you’ll create a lot more traction when walking over slippery surfaces, reducing the risk of slipping and falling.
3. Use adhesive bandages
Bandages don’t have to be just for your injuries.
You don’t need much for this little DIY project. In fact, you probably already have some adhesive bandages in your home, so you can get to making your shoes slip-resistant right away.
Start by thoroughly cleaning the soles of your shoes and letting them air-dry. Once they’ve dried completely, take your adhesive bandages and apply one to each pair of your shoes. They’ll provide you with some stability and grip, making it possible for you to walk over damp surfaces with ease.
This quick fix is a cheap way to make your shoes non-slip. Although it might not last as long as other methods, it’s so quick and simple that you can do it whenever you feel the need to.
4. Score the outsoles
Although it might seem scary at first because you feel like you’re ruining your pair of shoes, scoring the rubber soles with a knife or scissors will provide you with a lot of traction and make your shoes more slip-resistant.
There are many ways how you can do this, so you can choose the one that works best for you. You can have fun with it, too! Make diagonal or vertical lines, or get creative and create a snake pattern all over the soles for a better grip.
Of course, just like it’s the case with any method here, start by cleaning your soles and making sure they’re completely dry. To avoid any damage, let them dry in the open air, and don’t use any heat – no matter how tempting it might be.
Turn your shoe upside-down and hold it firmly. Take a tool of your choice and start scoring the rubber on your shoes. We recommend creating diagonal lines in both directions for the best possible traction.
If you have any, we recommend spraying your soles with a bit of traction spray as your last step, just to make the results even more effective.
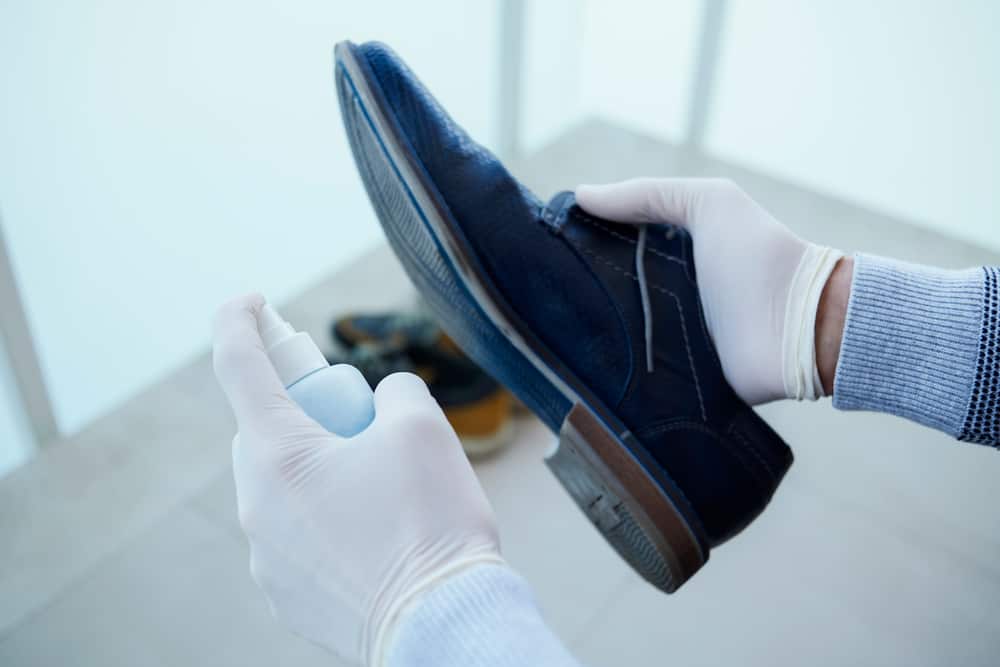
5. Use traction spray

Speaking of traction sprays, they’re always a good option when you want to make shoes slip-resistant for work. That’s their main purpose, after all.
This Athlete Performance Tools Performance Grip seems to do its job. You should definitely give it a try since it’s a pretty budget-friendly way to give your shoes the additional grip they need to help you avoid falling or slipping.
The product is made of chemicals that don’t dissolve in water. Because of that, it’s non-toxic and can last you for a long time once you spray them on.
The application is rather easy. Simply spray the product directly on the soles. Don’t worry if you accidentally spray the uppers, too, as it’s perfectly safe. Simply wipe it off once you’re done.
Lightly mist your soles and then use a clean cloth to wipe away any access. Make sure you don’t wear your shoes too soon and let them air dry for a couple of hours first. If you notice your shoes are still slippery, you can repeat the process until you get the desired result.
6. Try grip pads
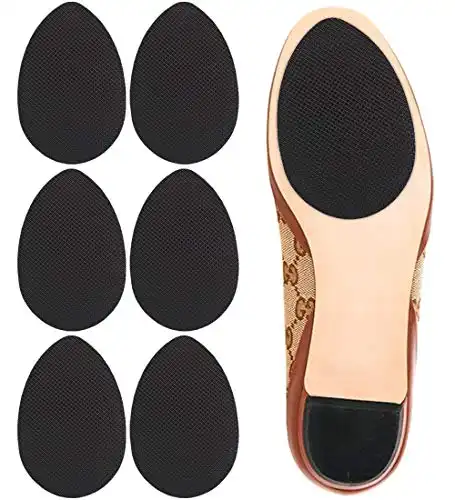
Attaching grip pads to your shoes is a great way to improve their traction and make them slip-resistant for work and these from Dr. Shoesert have some great reviews. Although this method might be a bit more expensive than the ones we’ve previously mentioned, they’re a really effective solution for this issue.
If this is your first time using grip pads, don’t worry if they feel a bit weird at first. Once they wear down, you’ll notice all the beauty this amazing product brings. They’re an effective way to keep your shoes on your feet in slippery conditions or wet weather.
Grip pads come in a variety of shapes and sizes. While round pads are great for indoors, we recommend using larger ones if you work outside. Start by cleaning and drying off your soles before you get to attaching grip pads onto them.
Next, peel off the protective covering on the pads and apply them to the outsole of your shoes. Make sure they cover the back part of your shoe where your heel is, as well as the front. Press the pads firmly and hold them for a few minutes so that the glue dries down.
7. Attach non-slip soles
When thinking of how to make shoes slip-resistant for work, attaching non-slip soles to them is probably the best way to do it. This is definitely the most long-lasting and effective method, simply because you’re using a product that targets this issue specifically.
This type of soles won’t only prevent slipping and falling when walking over slippery surfaces, but they’ll also provide your shoes with additional support and stability.
Follow the instructions on the product and attach the new soles on top of your old ones. This will provide you with an additional grip, but also help you feel more comfortable in your shoes. If you attach them properly, these new soles might last you for years.
8. Make a salt and rubber glue concoction
Time for a little experiment! What you’ll need is some salt, rubber glue, and a paintbrush. This method will provide incredibly effective results, no matter how silly it may seem.
There are two ways to use rubber glue and salt to make your shoes slip-resistant: you can make a mixture, or apply the salt directly to the soles. Let us explain.
If you’d like to play around a little, you can make a salt and rubber glue mixture. Clean the soles and let them dry in the open air before you move on to the next stop. Take a bowl and, in equal parts, pour salt and rubber glue. Mix them together until they’re well blended and you’ve got a grainy texture.
Next, using a small paintbrush, apply the mixture over the soles of your shoes. Let it air-dry and you’ve got yourself a pair of non-slip shoes!
The other way is rather easy, too. Simply sprinkle salt over the soles of your shoes, rub them together, and adhere it to the sole using rubber glue. If you’re not happy with the results, you can go ahead and apply more salt until you get desired results.
9. Use hairspray
We’re long past using hairspray just for our hair. It’s a quick solution for a lot of things, including making your shoes slip-resistant.
Although it might not be a long-term solution, it sure is a quick one that you can do all the time. Start off by cleaning your soles and getting your hairspray while they dry.
When they’re done air-drying, generously spray the soles of the shoes you wear to work. Don’t put them on right away. Let the spray get absorbed by the soles before wearing them. The results will be immediate.
10. Have fun with some puff paint
Another fun DIY is on your way! This time, we’re using puff paint to make shoes slip-resistant for work, and we’re having fun with it!
After a quick trip to the kid’s art and craft store, it’s time to work on making your shoes non-slip. Simply apply a thin layer of puff paint to the soles of your shoes. Wait for a couple of hours to let them dry, and they’ll be safe to wear.
You’ll be surprised by the results. Not only will it allow you to walk on wet and icy surfaces, but it will also last you for a long time. Puff paint! Who would’ve thought?
11. Give your local cobbler a visit

If everything else fails, it’s a good indicator that you should leave this to the professional. When was the last time you paid a visit to a cobbler? You won’t have to stress about how to make shoes slip-resistant for work if you simply let your local cobbler do their magic.
They have all the necessary tools to make your shoes as slip-resistant as possible. Whether it’s attaching a new sole or applying something to your old one, a cobbler will know how to find the best possible solution for your problem!
What makes shoes slip-resistant?
Wearing slick shoes on a slippery surface is pretty much equal to walking on ice. If you’d rather purchase a new pair than play around and make shoes slip-resistant for work, we’ve got some tips for you and what you should be looking for.
We recommend you buy them in person so that you can try them on and test how they feel. Although you probably won’t have wet surfaces to try them on, sometimes it’s enough to put them on and see how they feel. Plus, you’ll be able to test how comfortable they are, too!
Design

It might not seem like it at first, but the design of the shoe plays a big role in its slip resistance. If your shoes become super slippery when they are wet, it’s probably because of their design and not the actual material they’re made of. Vans are a great example of a slip-resistant shoe that gets this feature from its design.
Their soles are designed with rhombus, circles, and treads, making them a safe option for those who work on slippery surfaces. Their design prevents grease, water, and other liquids from sticking to the shoe, which as a result increases their grip.
Material
Material is probably one of the most important things that make shoes non-slip. If you’re looking for a pair that will be safe to wear to work, look for one that has a rubber sole. It will provide you with the best possible grip and it will reduce the chances of slipping.
Because rubber soles are super sticky, they’ll keep you safe even on icy surfaces. However, not all sneakers that have rubber soles are safe to wear on wet floors. Basketball and tennis shoes are good examples. Because they’re not designed to wear in wet conditions, they won’t be of any use on a slippery surface.