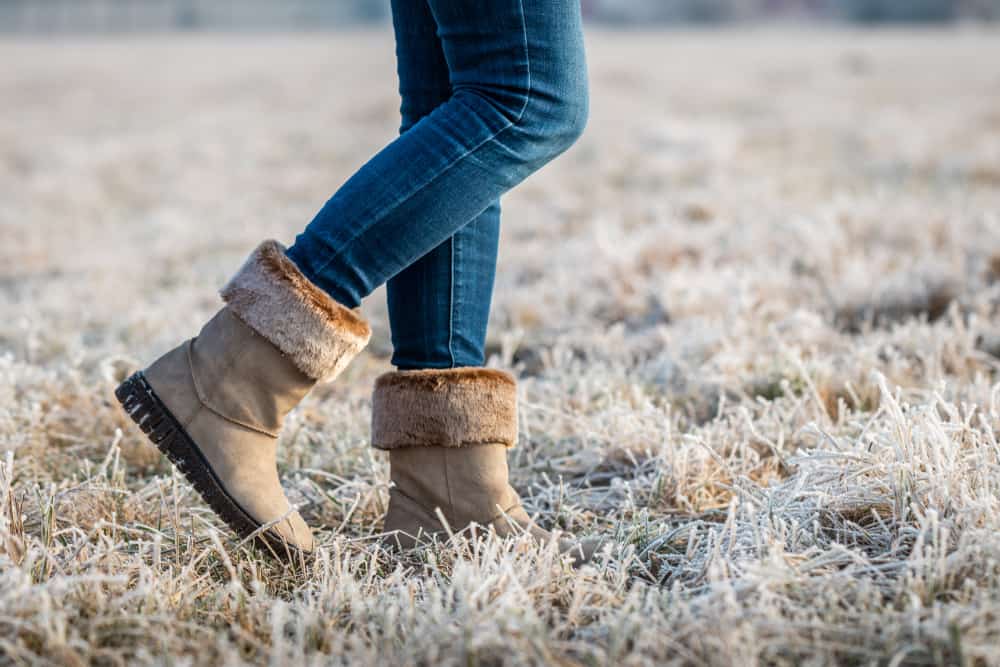
The winter is slowly coming to an end, and spring is finally approaching. I can’t help but feel that this is weird, since it seems like it was yesterday when we were taking our winter coats, shoes, and sweaters out of the attic, and now we are wondering how to clean winter boots to store them for the next season.
Time flies. Truly. But one thing remains the same, and that is the necessity to take proper care of our footwear, so it can serve us for a long, long time. And a huge part of that proper care is cleaning, of course. Which can get quite tricky, especially if we don’t put much thought into it.
Cleaning your winter boots is very important because it can significantly prolong their life. Or, if not done correctly, it can prematurely age them.
In order to avoid the second option from happening, here is a guide on how to clean winter boots the right way!
How to clean winter boots? Step-by-step guide
1. Remove laces from your winter boots
The first thing you’ll want to do is to remove the laces from your winter boots. By doing so, you’ll stretch out your boots and enable yourself to properly clean the tongue area and reach all the usually unreachable places.
You’ll also be able to properly clean the laces, too. What’s good about this is that you don’t have to bother washing them by hand. You can simply put them in a mesh laundry bag and wash them with the rest of your laundry. Easy peasy!
2. Remove their inner liners
Similarly to removing laces, another good thing to do is to remove the inner lining from your boots, too.
By taking out all the inner padding, you’ll be able to wash that separately. You’ll also have better access to the inside of your boots to clean them properly and treat bad odors inside. Also, the inner lining will be able to completely dry much faster when it is taken out of the boots.
3. Get rid of any dirt by brushing and vacuuming your boots
Before you get your boots wet, you should make sure there is no dried dirt glued to their outsides and no loose dirt on their insides.
So, with your brush of choice, remove the dried dirt on your boots’ upper and outsoles. If necessary, use a crevice tool vacuum attachment to vacuum all the nooks and crannies inside your shoes.
By doing so, you’ll prevent the water you’re going to use later from becoming too muddy, and you’ll ensure the whole process of cleaning goes a lot smoother.
4. Soak your winter boots in warm water mixed with a dash of detergent
The next step to take is to prepare a bucket of warm water a put a few drops of detergent. Stir the water and detergent mixture until it becomes bubbly and then put your winter boots inside.
Soak your boots for around 30 minutes or more, depending on how much time you have on your hands. During this period, any dried dirt that remained in hidden crevices will melt down, and it’ll be easier for you to scrub your boots properly.
After this, use your brush and an additional drop of detergent and scrub the outsides of your boots. And when it comes to the insides, you can scrub them either with detergent or with baking soda.
When you’re done with scrubbing, please make sure you rinse your winter boots properly with clean water so no detergent or baking soda residue remains on your boots. Pay extra attention to the insides of your boots as it can get pretty tricky to rinse them all the way.
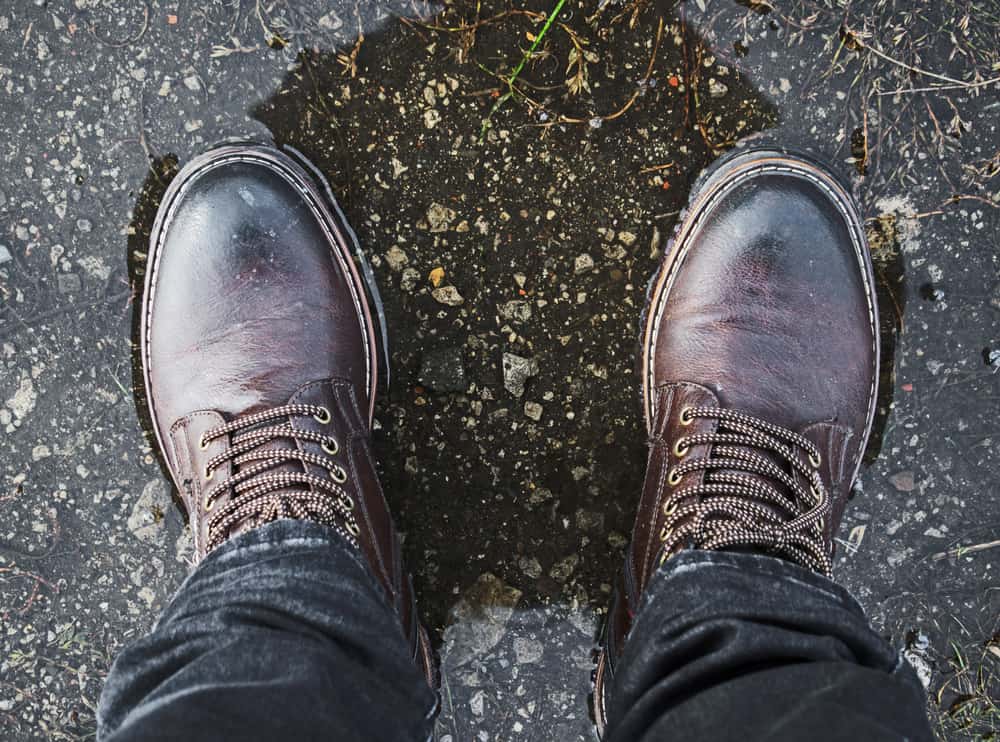
5. If there are salt stains on your boots, remove them with white vinegar
In places where there is a lot of snow, sleet, and frozen rain in winter and where the temperature of the ground is 32 degrees or colder, people tend to sprinkle salt on the roads. This is done because salt is known to lower the freezing point of water, preventing ice from forming.
This is pretty useful, indeed. However, it can leave some nasty stains on your winter boots which require a little bit more attention.
If you do notice your winter boots have salt stains on them, what you can do is take a clean cloth and dampen it in white vinegar diluted with water. You’ll do this after your boots have been soaking in the warm water and detergent, and after you have thoroughly brushed and rinsed them off.
Wait until they are not dripping wet, but not entirely dry, take that cloth damped in water and vinegar and slowly brush it over your boots. The vinegar will break off the salt completely and lift the stains that have been soaked in the pores of your boots.
Another thing you can consider doing is soaking your boots overnight in a mixture of vinegar and water.
This will be as effective as the damp cloth method, if not more since the vinegar will successfully get into the insides of your boots, treating the possible salt residue on the inside and killing any bacteria potentially growing there.
Inevitably, after both of these methods your boots will smell like vinegar. But don’t panic! This unpleasant smell usually goes away once your boots are completely dried.
6. Let them air dry
After you have done everything, and you are satisfied with the results, the last thing you have to do is to leave your boots to dry.
The best method is to leave them in a well-ventilated place to air dry. You can, of course, pat them dry with towels or use newspapers which are allegedly great at absorbing moisture.
However, remember to never put your boots in the dryer. The heat from the dryer can severely damage your boots and cause the material to either break, shrink, or become prematurely worn off. Also, don’t put your boots in the oven. Be patient with the drying process and let them dry on their own.
7. Store your boots the right way
This is not exactly a cleaning tip, but it can significantly help you next year and save you a lot of trouble.
If you’re thoroughly cleaning your boots because it’s the end of the winter season, and you want them to be as good as new the next time you take them out, you should know that cleaning is not the only thing you should be doing.
Trust me, it won’t do much if you do an amazing job at cleaning your boots, only to shove them in your musty attic or basement. You have to store your boots properly, somewhere dry and where they’ll have their own space, either on a shelf or in the box they came in.
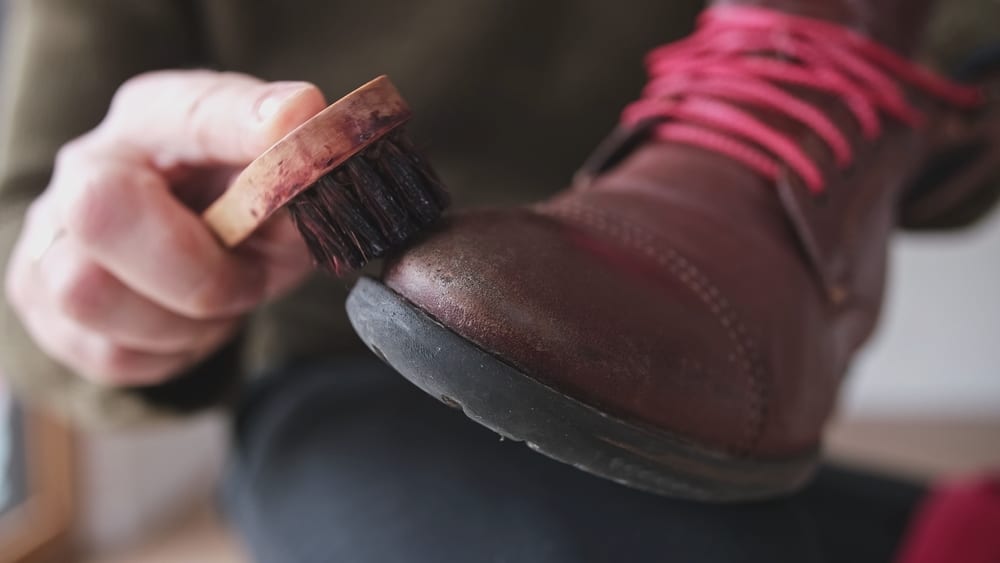
How to restore dry leather on your boots?
Restoring your boots is an exceptionally easy thing to do, and it only requires a small amount of your time.
After you have thoroughly cleaned your leather boots and let them air dry, now you would want to put cedar shoe trees inside and stuff your boots with lots of crumpled newspapers. This method will get rid of the wrinkles and creases that occurred due to excessive wearing.
To speed up this process and ensure better results, you can also consider heating your boots, leaving them next to a source of heat. However, be careful with this and never leave your boots too close.
After some time, you’ll notice the creases have disappeared. At this time, you should apply an even coat of leather oil to nourish your boots and put the moisture back into the leather and leave it to sit for a few hours.
Finally, you can use shoe polish or conditioner to seal everything in. Depending on your preference and the style of your boots, you can either opt for shiny or matte shoe polish.
How to get rid of scuffs on leather winter boots?
Scuffs on leather winter boots are unfortunately inevitable. However, they are easy to treat. First things first, you’ll have to start with clean boots.
For minor and more shallow scuffs, all you’ll have to do is warm your boots with the heat from the hairdryer. After that, you’ll take a clean cloth and rub the cloth against the scuff in a circular motion while applying some pressure.
When you notice the scuff is gone, apply a layer of leather conditioner and that’s about it.
Sometimes rubbing the scuff with a cloth won’t be enough. In this case, you’ll have to use petroleum jelly which will moisturize the leather and make the color within the scuff match its surroundings. You can also try using a leather recoloring balm like this one from STARTSO WORLD. Just make sure to follow instructions.
For more serious and deeper scuffs, you’ll have to fill in the gouged area with a leather filler. When the area is filled, scrape down the excess and then allow the filler to dry.
When it’s completely dry, sand the area with low-grit sandpaper. Then apply some leather recoloring balm in the matching color and leather sealer, and you should be good to go.
If you are, however, scared to try this method, you can always take your boots to your local cobbler and let him do his magic.